How to Start Making Art: Painting Edition
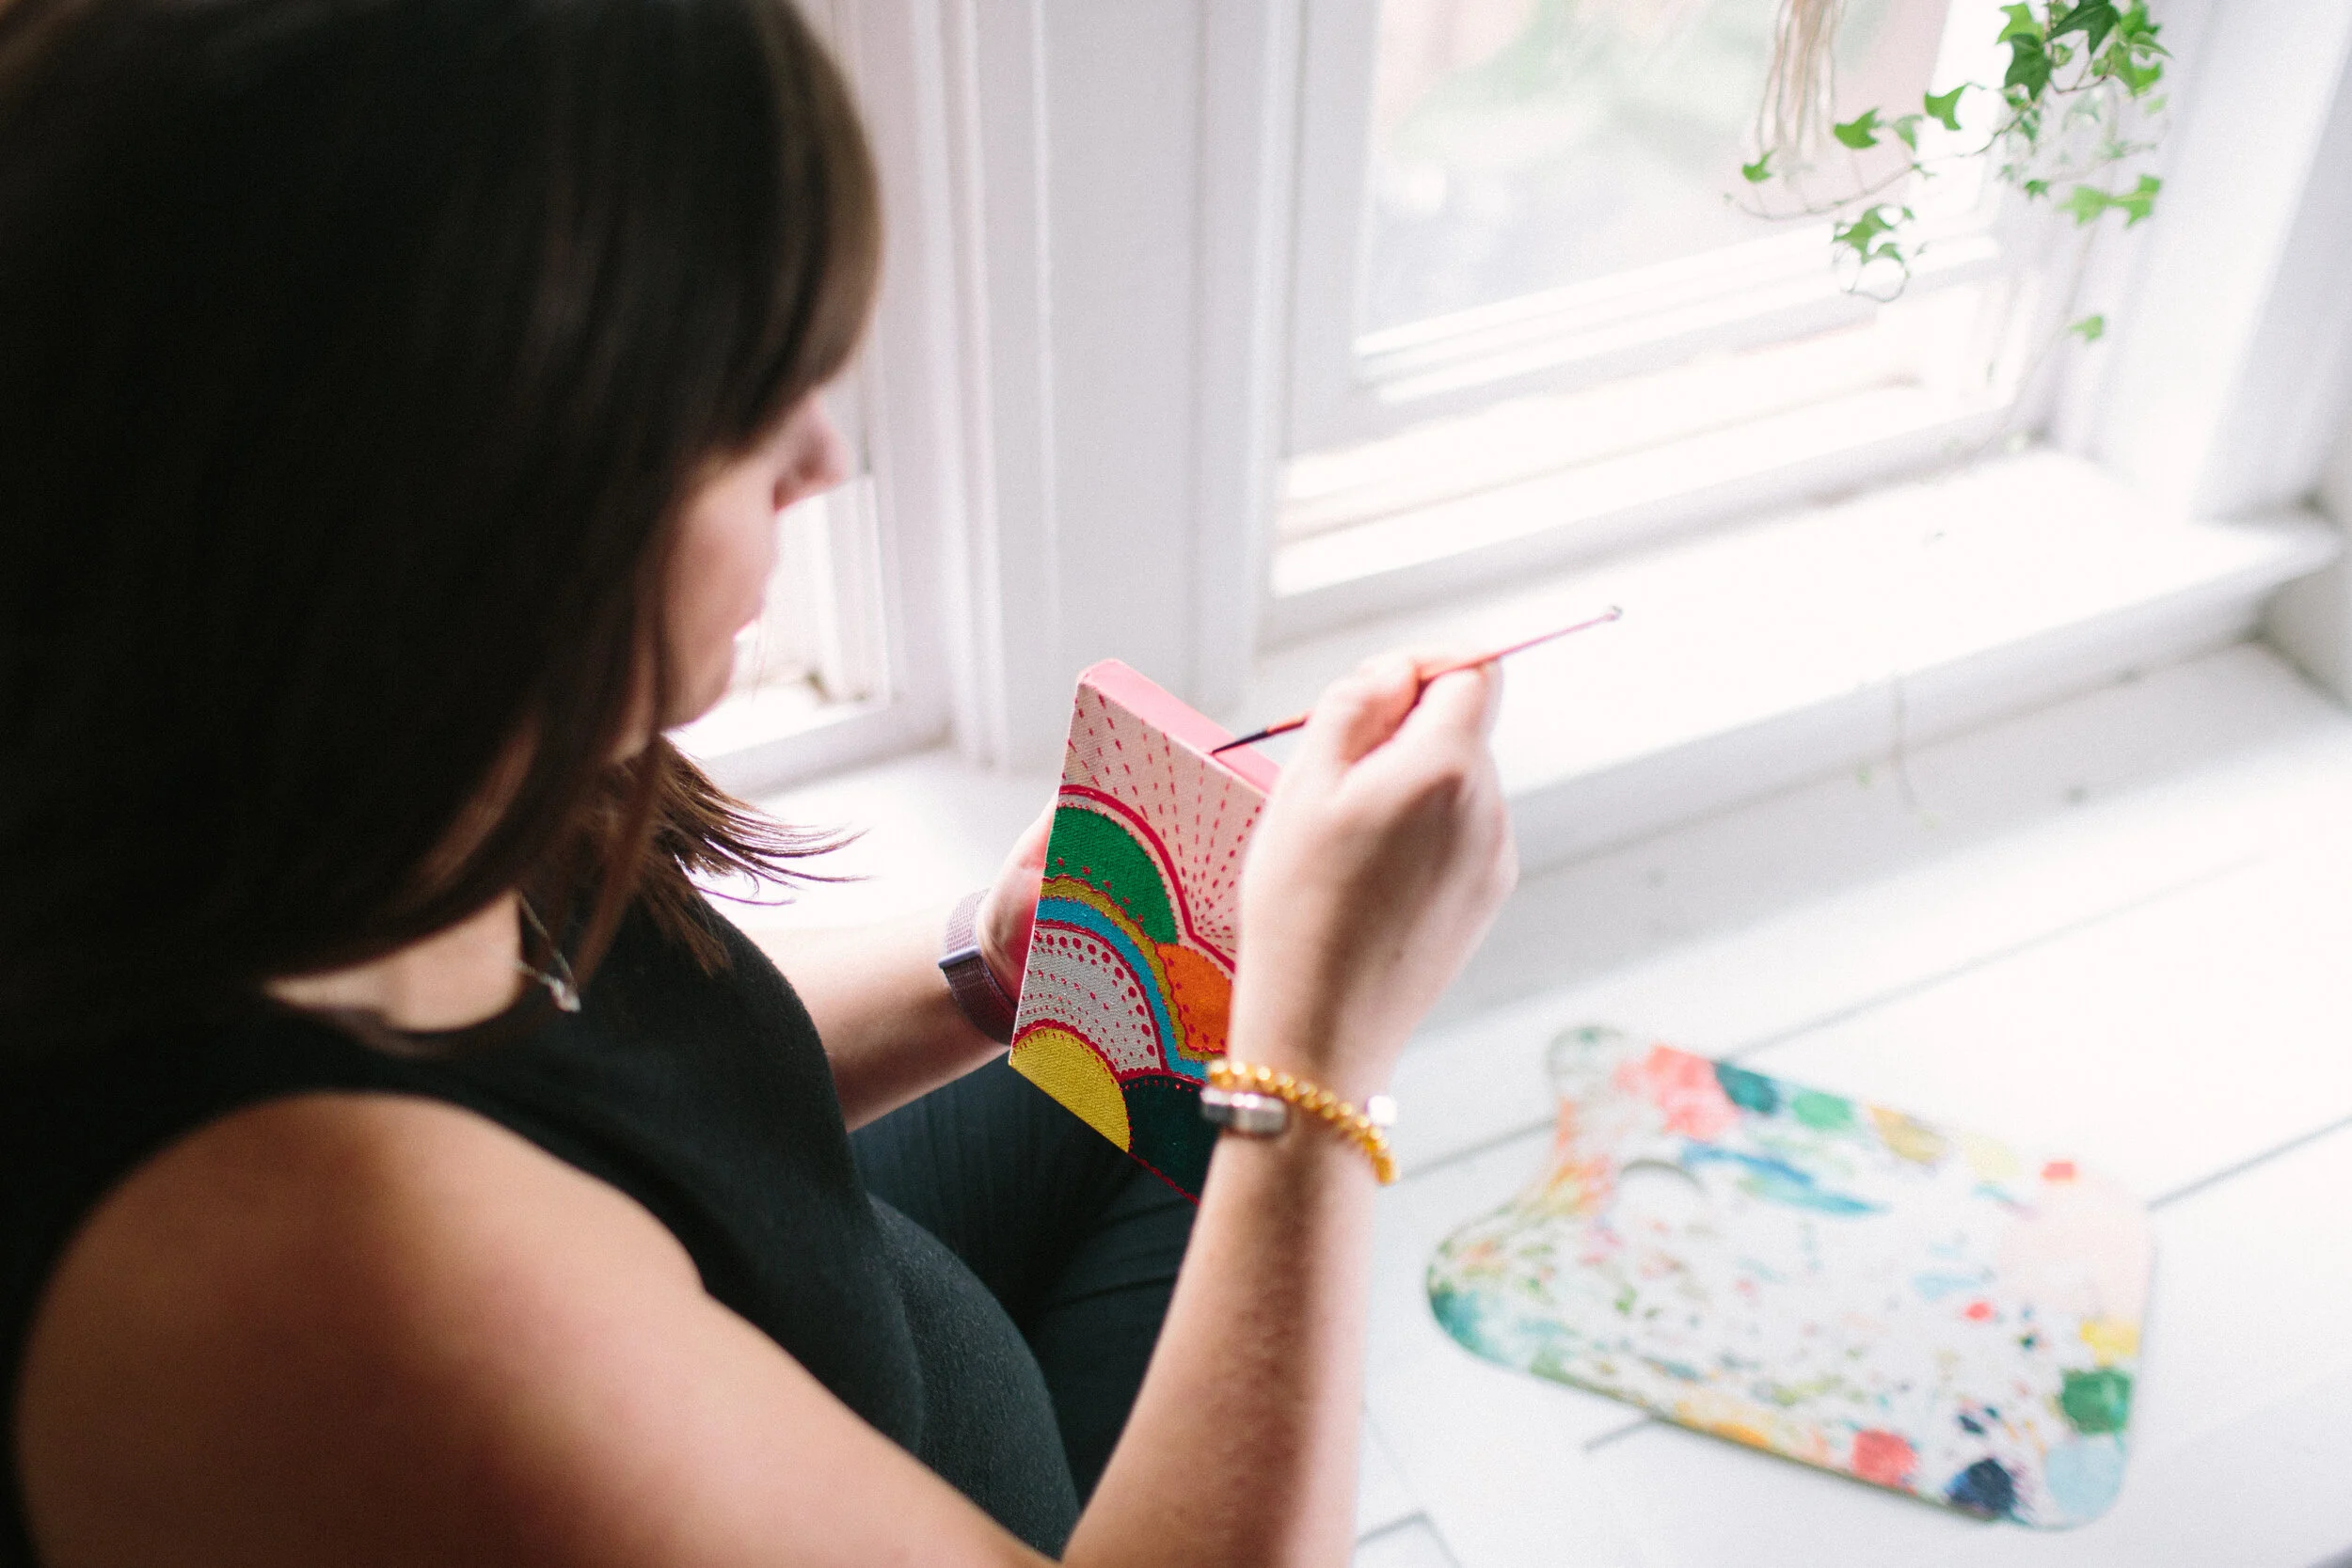
Back in July 2020 when I decided to dive back into painting, the biggest hurdle was not necessarily how I was going to make it work with my kid, but rather what I needed in order to start. Upon taking inventory of some supplies I had saved over the years, I literally needed every single material needed to get going on a painting. Thanks to my time in art school, I had a baseline understanding of the supplies I would need but I still felt intimidated by the expense and energy required to obtain them. It made me wonder “would other people dive into painting if they knew what basic materials they needed to start? AND if they were easy to access?” It’s not as intense as you might think and depending on the size of your painting, you could set it up on your kitchen table. So, if you’ve ever considered getting into painting, just to see what it’s all about, then this post is for you!
Note: this is a very general overview. Stay tuned for most detailed posts about paints, brushes and canvas.
Where to Shop
Attached in the post are links so that you can purchase every single bit of it online. There is something lovely about going into a local art store, but if you’ve got a job, children, or you’re not yet ready to enter a store, online is the way to go. Places likes Michael’s often have coupons for non-sale items and they offer curbside pick up. I highly recommend you consider that route in the beginning! Amazon can be an easy place to get your materials, but not always cost effective.

The Canvas
You can paint on ANYTHING. Anything at all. There are no limits. That said, you may want to start on a perfectly white and ready to go pre-stretched canvas available at any art supply store. These canvases are pre-primed with Gesso, a special white primer used to treat stretched canvases and prevents your paint from soaking into the fabric. In short, you do not need Gesso when you purchase a pre-stretched canvas.
You will find there are “levels” assigned to various pre-made canvases, usually labeled 1-3 or beginner-professional. As you could guess, starting at level 1 is certainly the most inexpensive. The most significant difference is the quality of the frame and tooth of the canvas. If you are just starting out, buy a smaller one of each and decide what’s best for you. Professional grace canvases will have a sturdier wood frame and deeper stretch around the edges, which looks and feels impressive. If you plan to frame your work, thinner canvas depths work just fine. Again, play around with what feels right to you in terms of cost and appearance. Essentially, there is no right or wrong when it comes to purchasing canvas.
As far as size is concerned, go nuts! No idea where to start? I recommend something that is close to 8.5” x 11”, the size of standard paper. It’s familiar and lets you focus on practicing your skills.
These student level bulk canvases are perfect for just starting out!
Read more about canvases here.
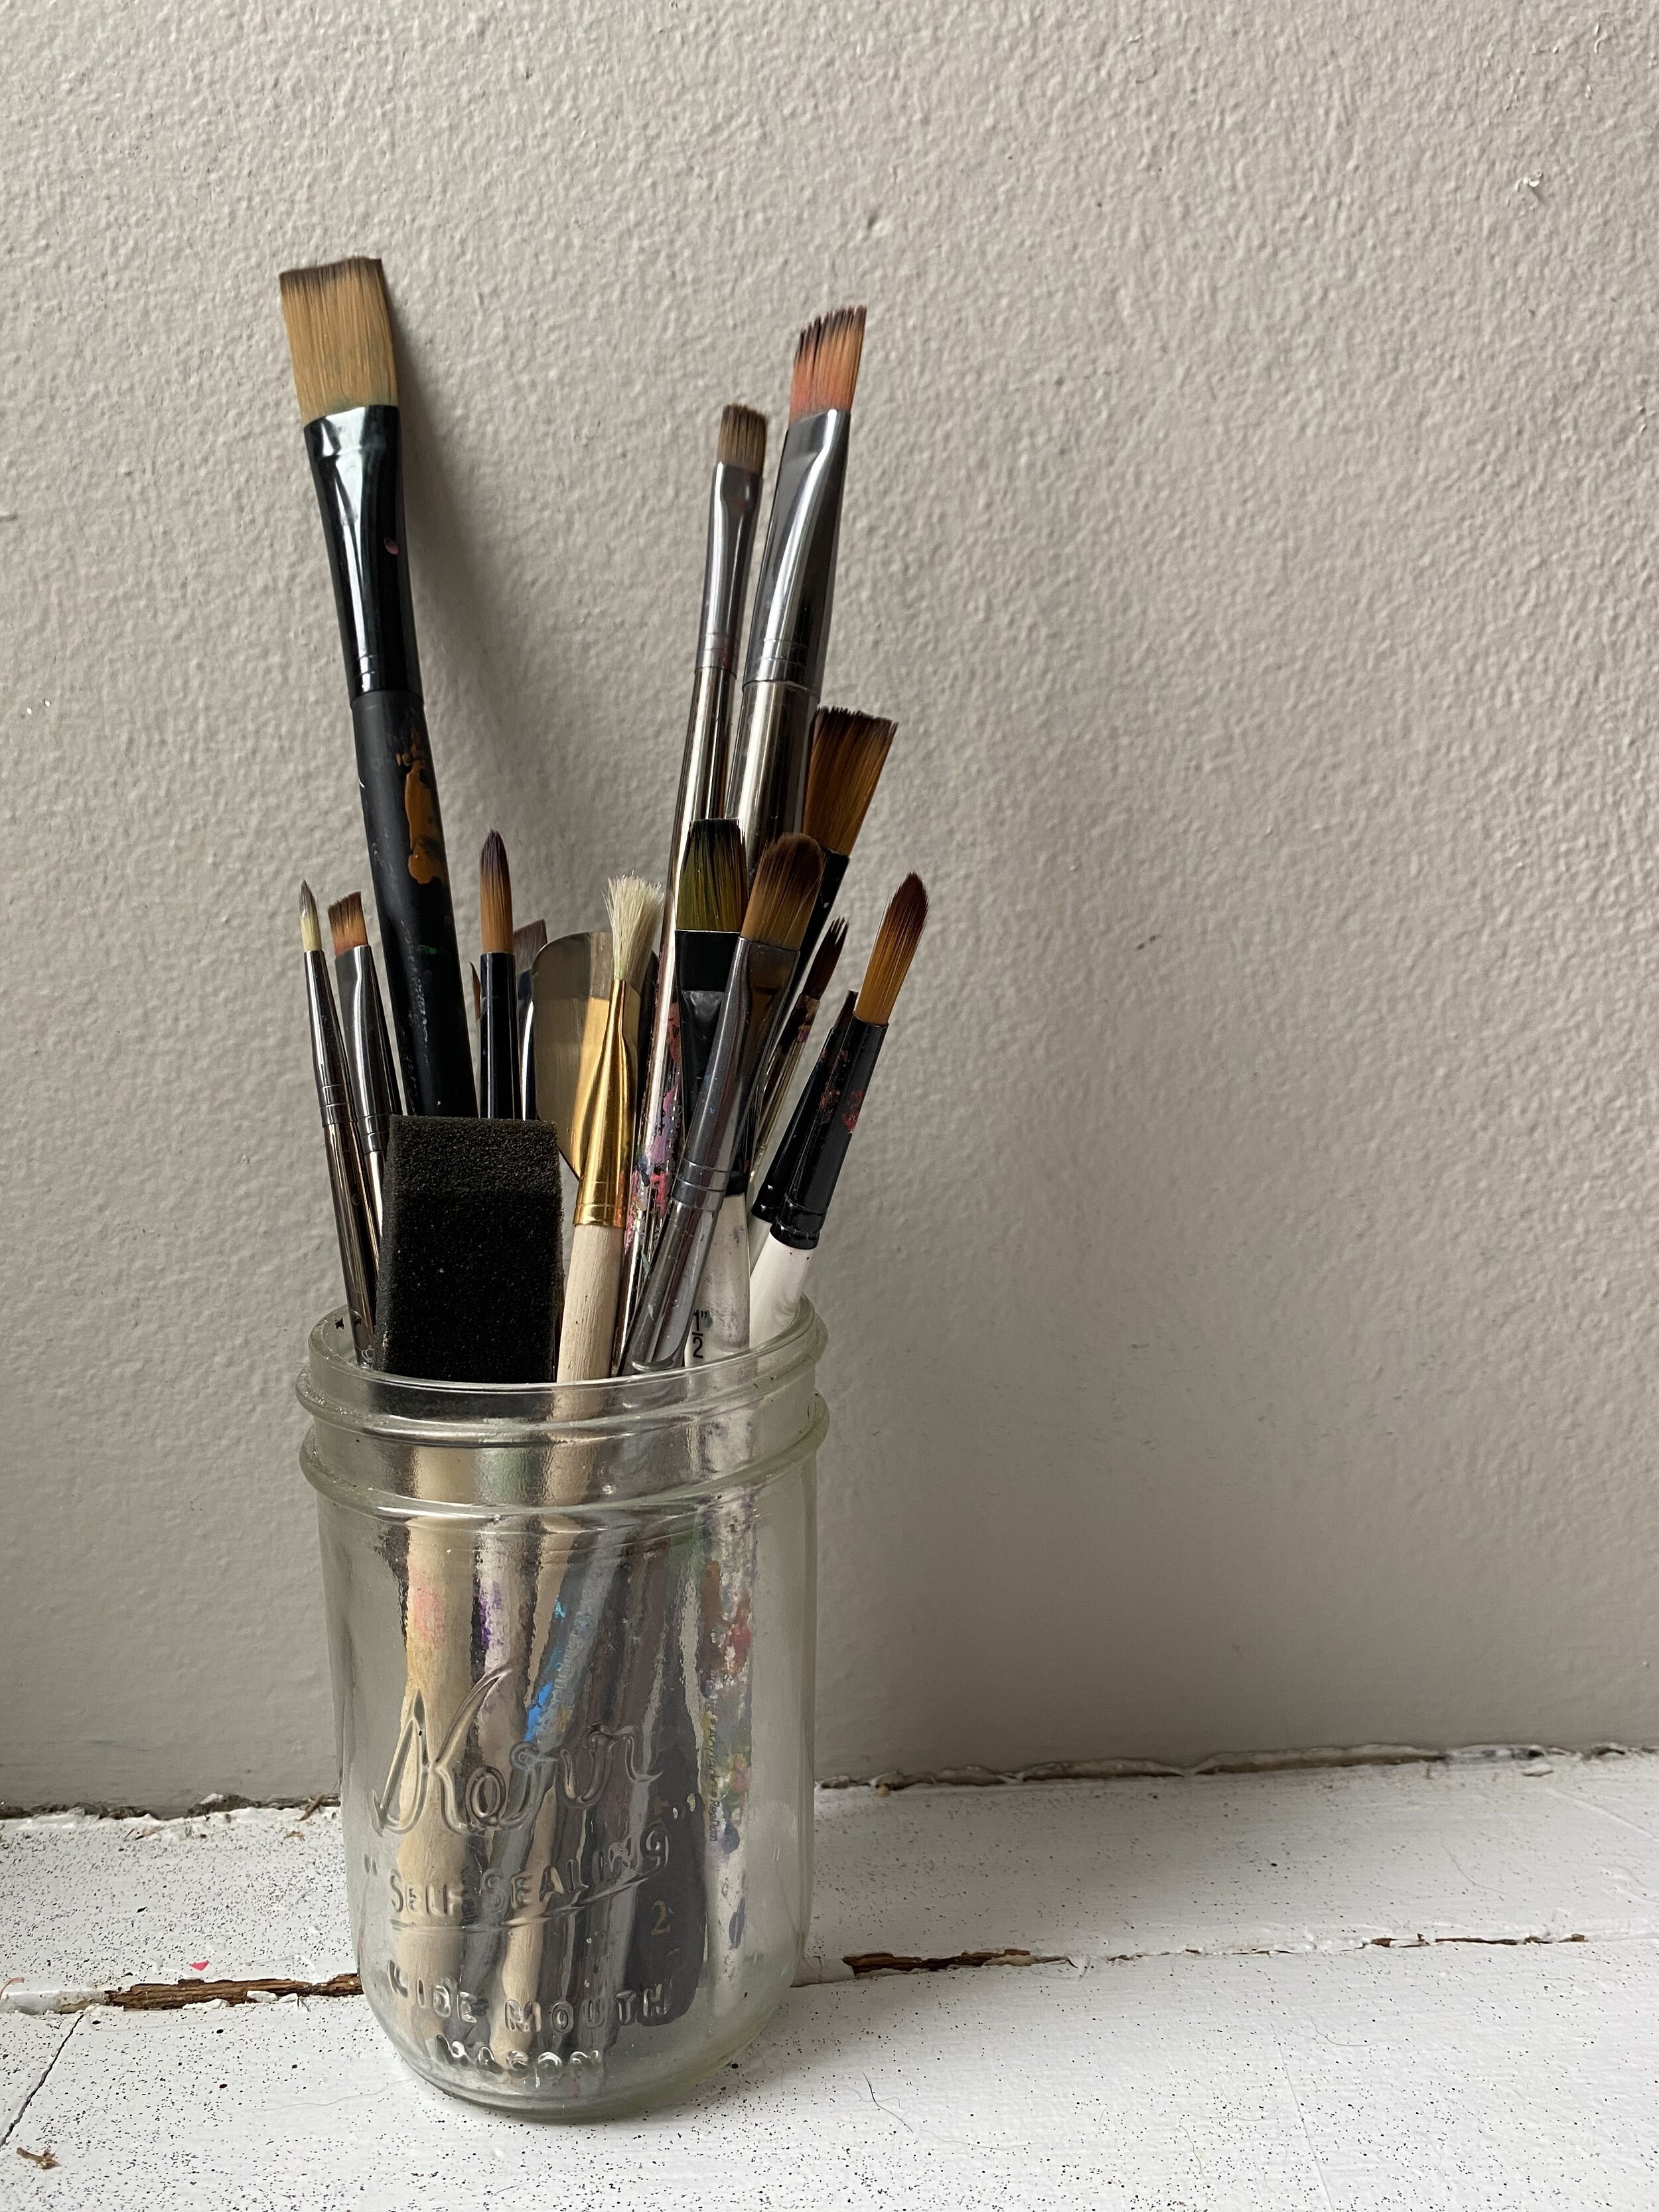
The Brushes
It takes a little time to find out what brushes work for your style of painting. If you like to work large, with lots of paint, you will need sturdy, big brushes. If you paint delicately, concerning yourself with lots of details, fine, lightweight brushes are going to be your thing. If you have no idea how you paint, start with a few basics. Like paint, there are levels for brushes and in my experience, price generally correlates with quality. Oddly enough, the better you are as a painter, the worse brush you can stand to use. Brushes are all about control. If you are a brilliant, experienced painter you could paint with a nailpolish brush! If you are still quite green, you will rely on the quality of brush to help support your painting skills. That said, start with the inexpensive fine art brushes or even very inexpensive craft brush sets. The more you paint, the more you will realize the type of brush that suits you and the frequency at which you need new ones.
This 6-piece set, with both round and flat brushes, is a good a place to start.
To read more about synthetic vs. natural and more, go here.

The Paint
Ah, the fun part! The paint. There are soooo many beautiful colors and hues, where do we start? First, you might want to know what the difference is between colors and hues and why hues are less expensive. Simple answer for the sake of this post: they are the same thing. Hues cost less because they are not as “pure”. More on that here.
On that note, when selecting paints, always choose the highest quality paint you can afford. Liquitex is a great mid-range acrylic option and marginally more expensive than cheaper store brands!
Titanium White: this is the most opaque paint you will purchase. No other white will do.
Cadmium Yellow Medium: Best yellow for starting out, in my opinion. Not too orange, not too lemon-y.
Ultramarine Blue: There are SO many blues, but stick with ultramarine if you’re just starting out. It will be the most reliable blue, with a slight purple bias.
Alizarin Crimson: This might look slightly magenta in the tube, but don’t fear. Mixing this cooler hued red with yellow will give you a pretty tried and true red. Alternatively, mixing it with blue will give you any shade of purple you are looking for! (And you will soon find that purple is VERY hard to mix initially without it!)
Burnt Umber: This is a deep brown that you can use to darken your colors or mute them as needed. A little goes a long way here!
*Black: If you are wary of your ability to paint without black, I get it. But I do recommend you skip this color all together!
This 6 piece Liquitex kit is PERFECT for just starting out.
If you want a few more, consider Phthalo Green (a blue-based green), Cadmium Red Medium (hot red!), Cadmium Yellow Medium (a warmer, more sunflower-like yellow) and Dioxazine Purple (my #1 favorite color that I use with practically every single color I mix).
*Ah yes, black. Black kills color, end of story. More on that here. Try mixing ultramarine blue, dioxizine purple and burnt umber to achieve the black! You might expect black to make your colors darker, but in reality they just muddy up your colors!

The Extras
-Paint palette. A nice white acrylic paint palette works well for mixing paint. You can also purchase palette paper, which is nice if you are strapped for time! Alternatively, you can mix paints on an old plate, aluminum foil covering a small baking sheet, or a glass cutting board.
-Palette knife. Gone are the days of mixing with a brush! Get yourself a palette knife and waste far less paint. A plastic one will work perfectly in the beginning OR spend a tiny bit extra and get nice metal ones!
-Brush cleaner. You just need some dish soap and warm water. That’s it!
-Old rags or paper towels for cleaning brushes as you go.
-A glass jar for water.
And this, my friends, is the supply list you need to get going! As far as what you paint, well, that is totally up to you…